
From Libre Arts: link to the original post
This new development version of GIMP is a bit of a game-changer as it arrives with some long-anticipated CMYK-related features. The way they are implemented will make some users happy, but some users might feel annoyed. It’s got to do with early binding vs late binding. So let’s talk about it.
Late binding CMYK workflow
In layman terms, when you create an image that is in a CMYK-based color space from the ground up, or you convert an existing RGB image to CMYK and continue editing it, this is called early binding. Because, well, you start with CMYK early on. This is what a lot of Photoshop users have been doing for a few decades now.
But when you work in the RGB mode the whole time, maybe do a soft proof in CMYK to see if the output looks sensible (that is, simulate a printed version on your display), and then export to CMYK, this is called late binding. Because you end up with CMYK late in the production pipeline.
What GIMP now supports is a late binding workflow. Let’s go over this in slightly more detail.
Creating new files
GIMP still supports three image modes: RGB, Greyscale, and Indexed. This is supposed to change eventually, some time after GIMP 3.0 release. But for now that’s the way things are.
So when you create a new image from ground up, you only get either RGB or Greyscale. However, the new thing is that you can now assign a soft-proofing color profile right in the New Image dialog.
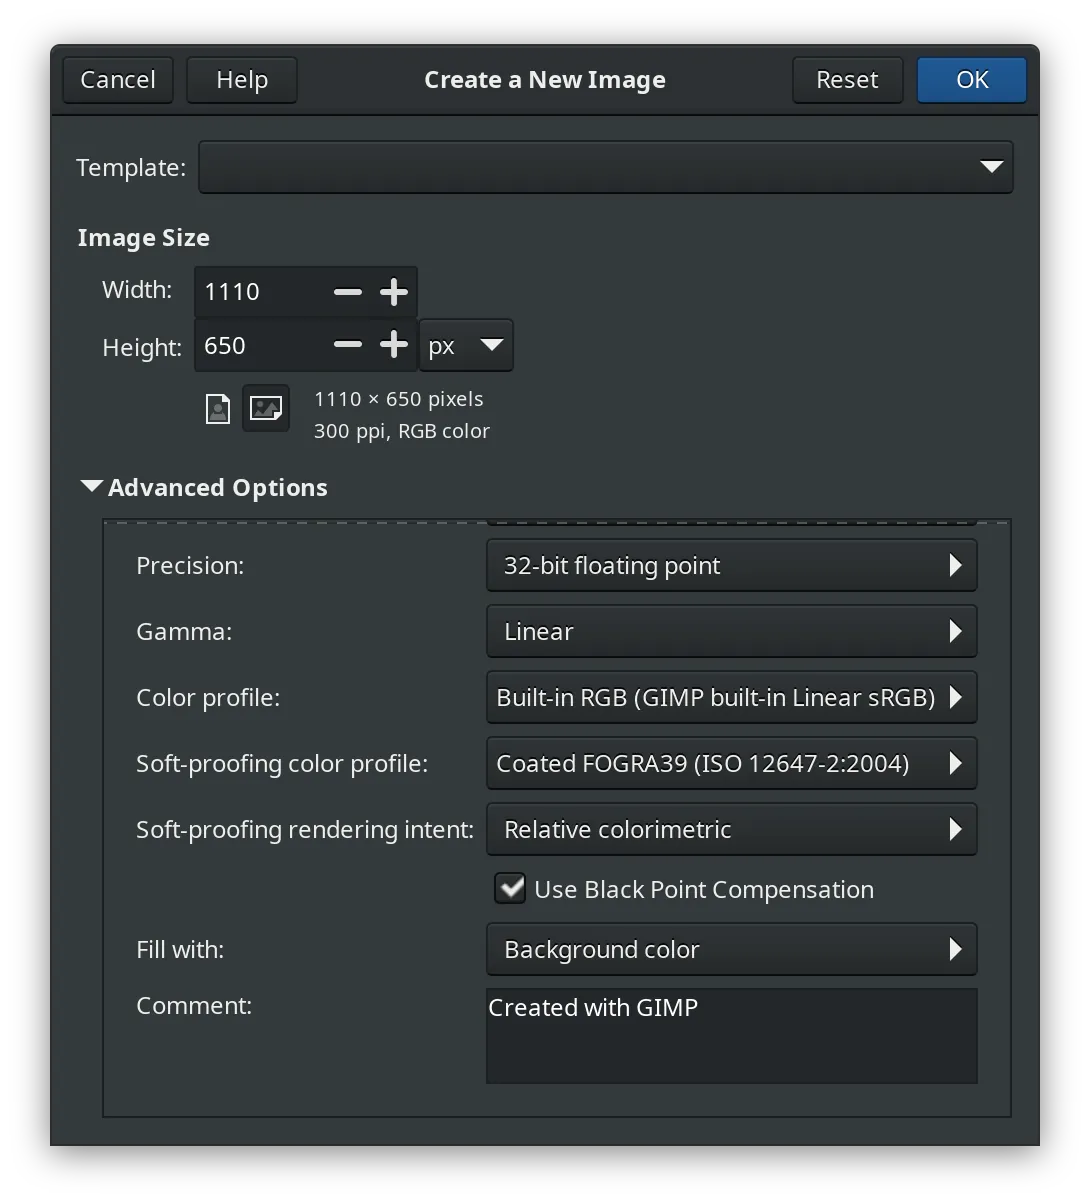
The information about the soft-proofing color profile is saved into the XCF file now.
Opening existing files
Another new feature is being able to open CMYK JPEG, TIFF, and PSD files. In all three cases GIMP will automatically convert pixel data to GIMP’s sRGB, even if you configured GIMP to use a preferred RGB profile like AdobeRGB (1998). This is likely to change further down the road, perhaps even in time for v3.0. So you wouldn’t have a CMYK mode, but at least you would have some control over the conversion.
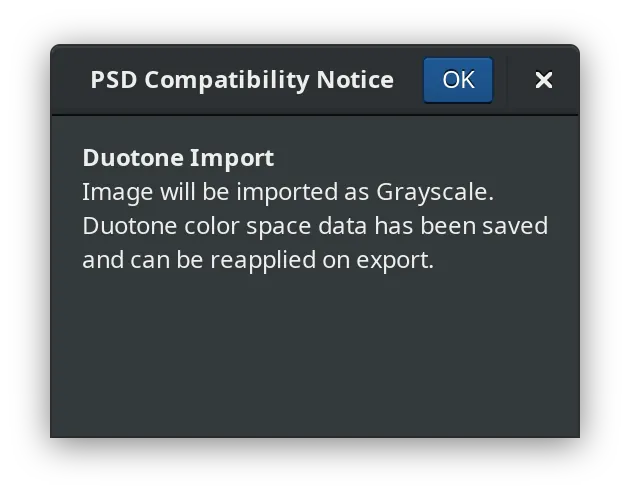
Not related to CMYK, but now GIMP can also read and show duotone PSD files. GIMP will import the data as greyscale pixels (converting to GIMP’s D65 greyscale color profile):
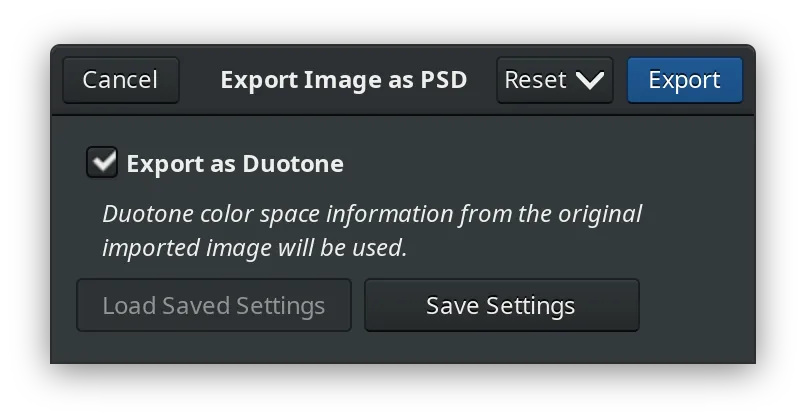
And then when you export back to the original duotone PSD file, GIMP will write all the extra information back, so the file will retain original coloring:
All this is of limited use right now, but at least you can open the files and look at them. Which is so much better than being greeted with a ‘CMYK not supported’ message.
Soft-proofing
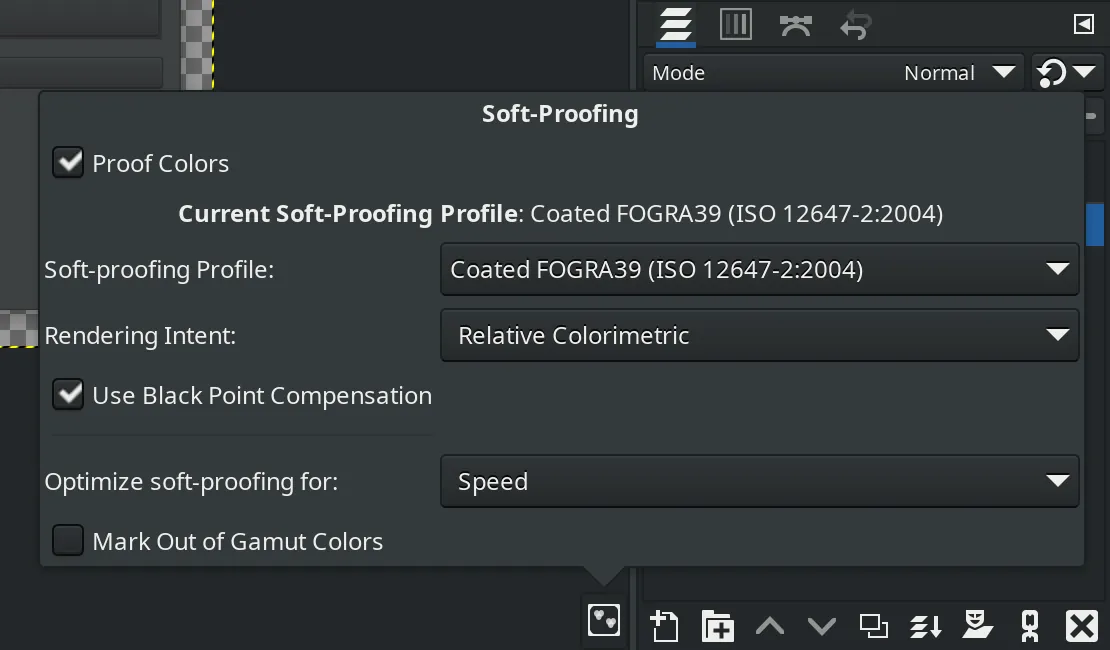
While all your editing is still happening in RGB, you can do soft proofs, that is simulate the printed look of your image (to some extent) to see how far off a printed copy will be. You can use either the main menu for that or this toggle in the lower right corner:
In a late binding workflow, your pixel data goes through two color space conversions rather than one. First, it goes from sRGB to a CMYK-based color space defined by the soft-proofing profile. Then GIMP applies a transform to simulate the printed copy on your display, so it goes back from CMYK to RGB.
Each conversion involves changing original data one way or another. In many cases it’s not “exact same color, different notation”. For example, with perceptual rendering intent, it’s more like “a different color, but it might give you the same vibe because of how it looks next to another color that is, by the way, also not what it was originally”. (Down the rabbit hole we go.)
This means a soft proof will not be an exact match to a hard proof. So it’s best to treat the soft proof as more of a guideline.
Squinting at CMYK values
Two more parts of the UI that got an upgrade are the CMYK color selector and sample points. They both now use the right machinery to take the soft-proofing profile into consideration.
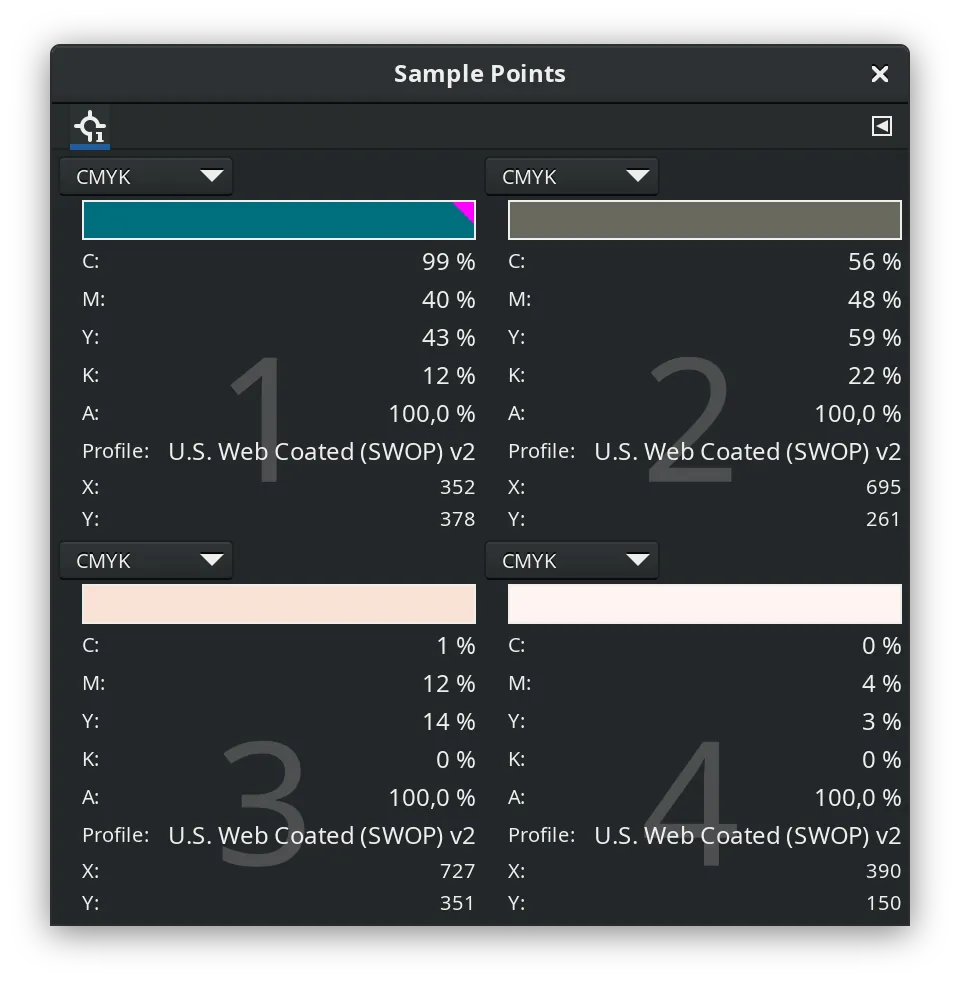
One useful thing that the Sample Points dialog (as well as the Info window of the Color Picker tool) could do now, I think, is to calculate and display total ink coverage.
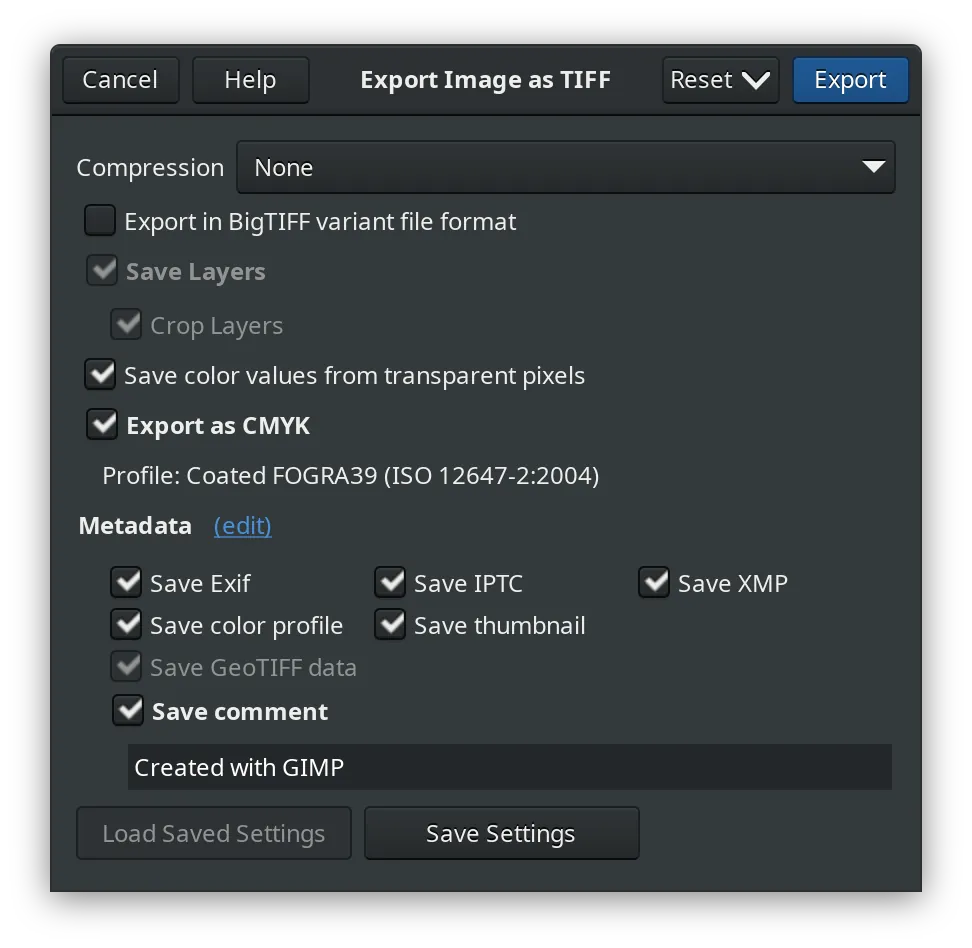
Exporting to CMYK
Finally, we get to the most exciting part. You can now export to CMYK JPEG, CMYK TIFF, and CMYK PSD. GIMP will use the soft-proofing color profile (rather than the preferred CMYK profile, too) to convert to CMYK and will tag the output file with that profile.
This is the crucial part of the late binding workflow. Before, your best bet
was either with the separate+ plugin (which didn’t play well with some bits
of GIMP), with convert utility from ImageMagick (CLI tool), or with Krita.
Now you can do it with just GIMP, no extras.
Is late binding sufficient?
Not for everybody.
Today, in many cases, you will be designing something that is intended to be used on both digital and print media. So late binding is more likely a better choice, because you don’t have to redo your work in multiple versions just because you did an important edit in the CMYK version that needs to be taken to the RGB version as well.
However, not having the option of early binding means you don’t have direct control over what shows up in your final CMYK image. You can enable a soft proof mode and use RGB-based tools, but that might be less convenient.
Will there be early binding in GIMP?
That’s the idea. The team has plans to support any color space as a working color space. Which means LAB, CMYK and other image modes along the way.
Just please don’t ask me when. It’s out of anyone’s hands. So far, nobody has been able to put a date on the v3.0 release. Early binding is not v3.0 material.
Now let’s talk about some of the other important changes in this release.
Canvas interactions
There’s three noteworthy changes here.
Brush sizing on the canvas is something graphic tablets users will appreciate. You could configure GIMP before to use Shift+mouse wheel to change the brush size on the go without reaching for the Tool Options dock, but that also meant you had to grab the mouse, and where is the fun in that? Now you can just Alt+right-drag to change the brush size with outline preview right on the canvas.
Secondly, on-canvas modifiers are sort of configurable now. I’ll give you a real-life example that stings. Ever since canvas rotation was introduced to GIMP in 2013, people have been complaining about it. Part of the reason is that it’s comparatively easy to accidentally trigger it. And then part of the reason is that there was no way to disable it (canvas actions weren’t configurable at all). With this new version, you still can’t disable canvas rotation per se. But now you can set a sequence of modifiers that you will never accidentally trigger.
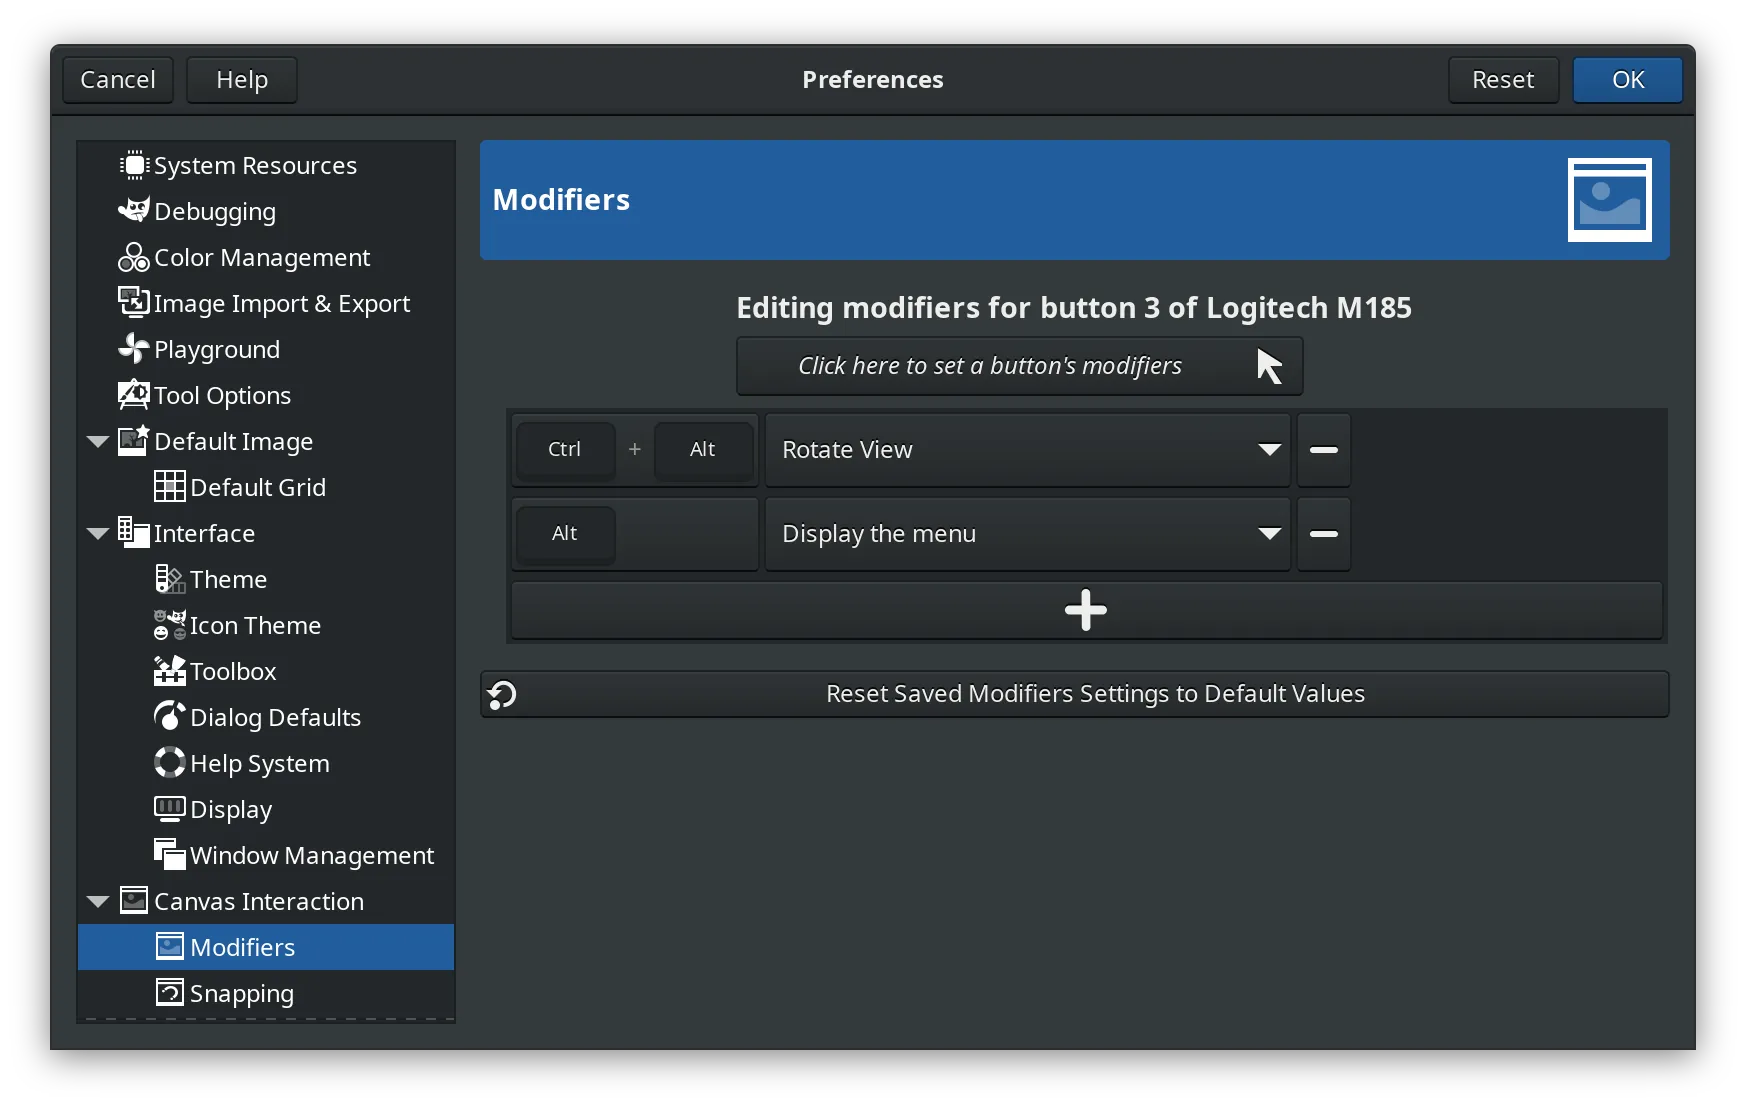
The sort of configurable part I mentioned above is this: you can configure modifiers for the right/secondary mouse button, but you can’t do that for the left/primary one.
Finally, if you are an avid touchpad user, congratulations: you can now rotate canvas by using the gesture akin to pinch zoom: place your thumb firmly on the touchpad, then move the index finger around the thumb. It’s all fairly straightforward.
DDS support improvements
More file format plugins than that received improvements in this release, but I’m focusing on DDS here for one simple reason: guilt.
At some point in the past, users talked developers of GIMP into merging an existing 3rd party plugin that added support for loading and exporting DDS files commonly used in games. I was involved with that and, in fact, did the initial merge. What happened next was, on the hindsight, easy to predict: everyone got excited and started asking for new features. Meanwhile not one single GIMP developer was interested in gamedev. So there was a lot of frustration.
Fortunately, Jacob Boerema who joined the project a few years back started hacking on the plugin. The latest bunch of changes are:
- 16-bit masks support.
- Support for DDS images with a single 16-bit channel.
- Correct conversion of DDS images with two 16-bit channels to 16-bit RGB.
Nikc, the very same GSoC student who has been working on CMYK support, topped that with two more changes:
- Flipping the image vertically when exporting (some game engines need that).
- An option to export all visible layers.
If you want all the details about everything else, there’s release notes. Or just grab a build and see for yourself. The Welcome dialog you’ll see will list most important changes in 2.99.12 anyway.
Further plans
The official release notes talks about release candidates for 3.0 on the horizon and lists various ongoing projects. This doesn’t mean v3.0 in 2022, but the final release in 2023 is beginning to look realistic.
Two more things are happening: the main website is being ported to Hugo, and the website for developers is being revamped at long, long last.
I’ve definitely heard about the progress being glacial as compared to some other projects. Even with recent additions to the team, the workload is still not as balanced across the team as it used to be some 3-4 years ago. But I like the odds today far better than, let’s say, two years ago.
The last stage of a long release cycle is a somewhat unfortunate time to join the project to work on something new, knowing that users might not have the access to things you did for months to follow. Still, if you feel like getting involved, I’m sure the team will do their best to help.
You must be logged in to post a comment.